
Most homes in the UK have pitched roofs. They let rainwater run off easily and create a loft space underneath. But without proper insulation on the roof areas, a lot of heat escapes through the top of the house. Around a quarter of heat loss can come from an uninsulated roof. This leads to higher energy bills and cold rooms in winter. Well-pitched roof insulation helps keep the home warm and lowers energy costs.
There are two primary methods for insulating a roof. You can do it from the outside or from the inside. As Professional roofers, we will explain how to insulate a pitched roof from inside, which is common for loft conversions and home upgrades. When insulating roof rafters from inside, you usually work at rafter level. This is called a cold roof setup, where insulation sits between and below the rafters. We will also cover air gaps, insulation thickness, and key building rules for safe and effective insulation of pitched roofs.
What You Need Before You Start
Before You Begin
- Check the roof for leaks, damp patches, cracked tiles, or rotten timber. Fix any damage first.
- Make sure the roof structure is strong and dry before adding pitched roof insulation.
- Decide if you are insulating roof rafters or adding ceiling insulation at the joist level.
- If you are converting the loft into a room, you will need insulation between rafters.
- Measure the depth and spacing of the rafters to plan the correct pitched roof insulation thickness.
- Check UK building regulations to make sure your insulation of pitched roofs meets the required standard.
- Plan for a 50mm air gap above the insulation to allow airflow and reduce condensation risk.
Tools You Will Need
- Tape measure
- Sharp knife or insulation saw
- Straight edge or ruler
- Staple gun or fixings
- Drill and screws
- Timber battens (if required)
Materials You May Need
- Insulation boards or mineral wool for pitched roof insulation between rafters
- Additional insulation board for under rafters (if needed)
- Vapour control layer
- Plasterboard for finishing
Safety Equipment
- Gloves
- Dust mask
- Safety glasses
- Long sleeves and trousers
Step-by-Step Guide to Insulate a Pitched Roof From Inside
Step 1 — Prepare the Loft Area
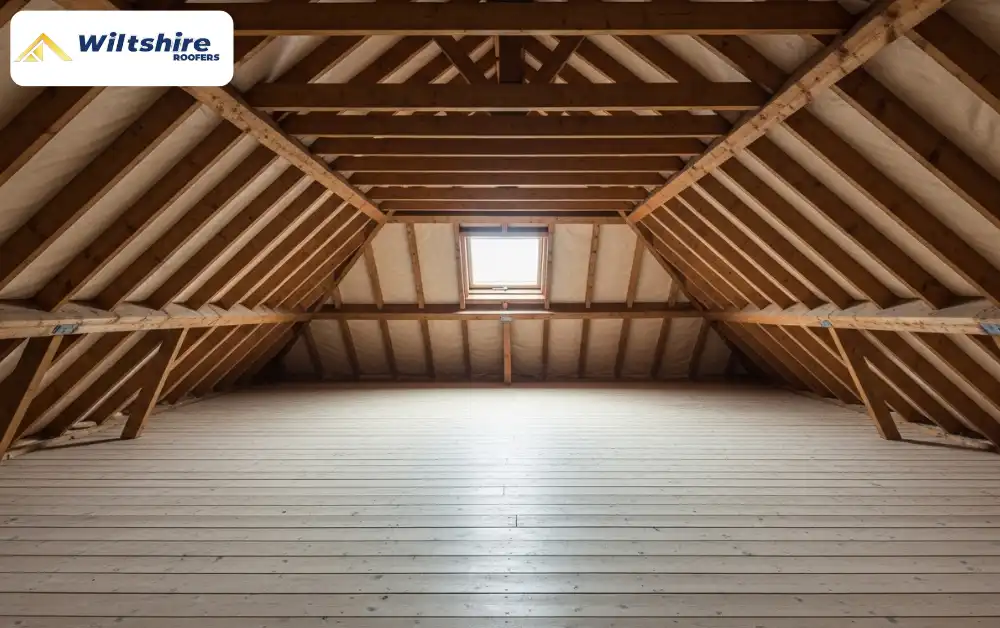
Clear the loft and remove any old insulation between the rafters. Check the roof for leaks, damp, or rotten timber, and fix any problems first. Make sure the rafters are dry and strong. Look for wiring or pipes and keep them safe before starting pitched roof insulation.
Step 2 — Measure the Rafters

Measure the depth and the gap between each rafter. This helps you choose the correct pitched roof insulation thickness. Accurate measuring is important so the insulation fits tightly without gaps. Poor fitting can reduce performance and cause heat loss.
Step 3 — Keep a Small Air Gap
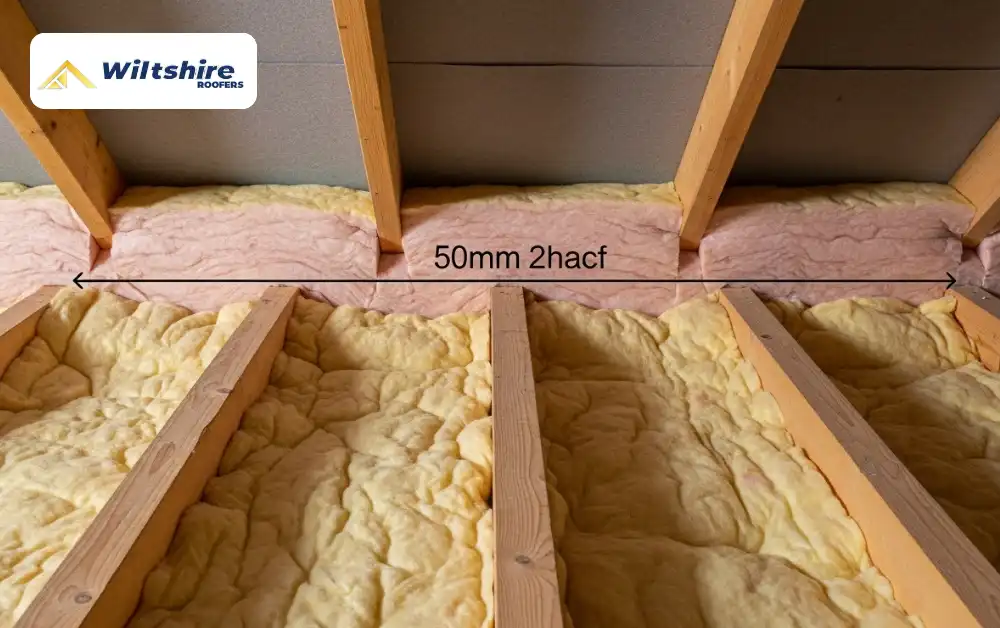
Leave a 50mm air gap between the top of the insulation and the roof covering. This gap allows airflow and helps prevent condensation. Without ventilation, moisture can build up and damage the timber over time.
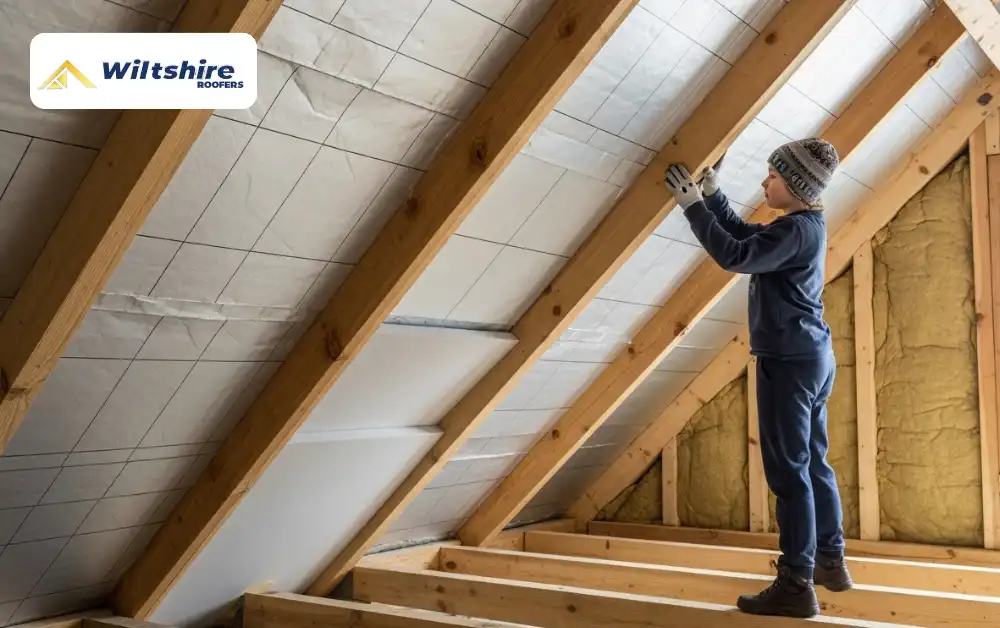
Step 4 — Fit Insulation Between Rafters
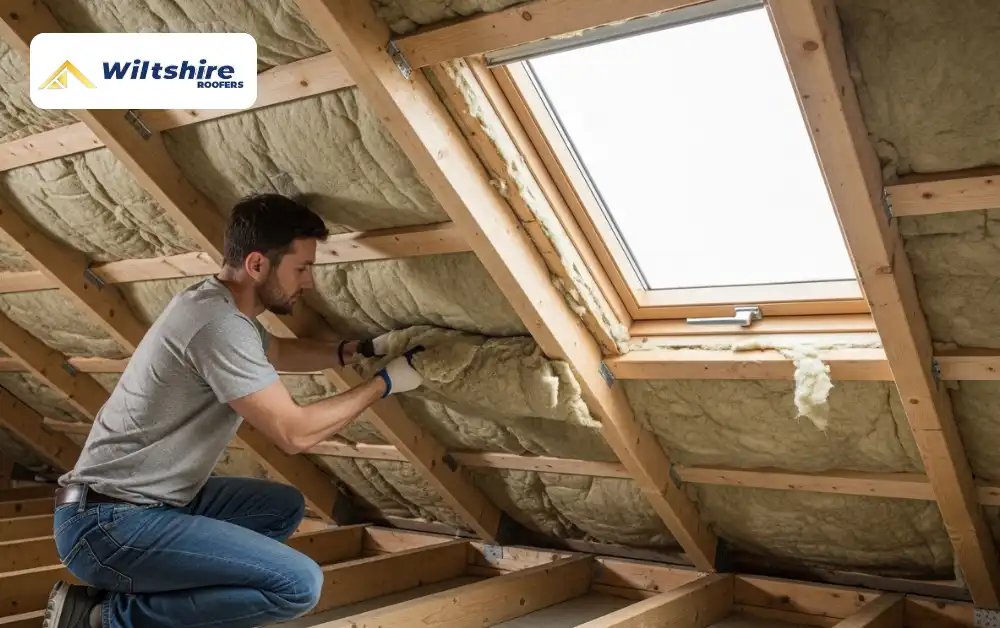
Cut the insulation to size and fit it firmly between the rafters. Whether you use mineral wool, fibreglass, corkboard, or PIR boards, make sure it sits flush with the rafters. This is the main part of insulating roof rafters and improves thermal performance.
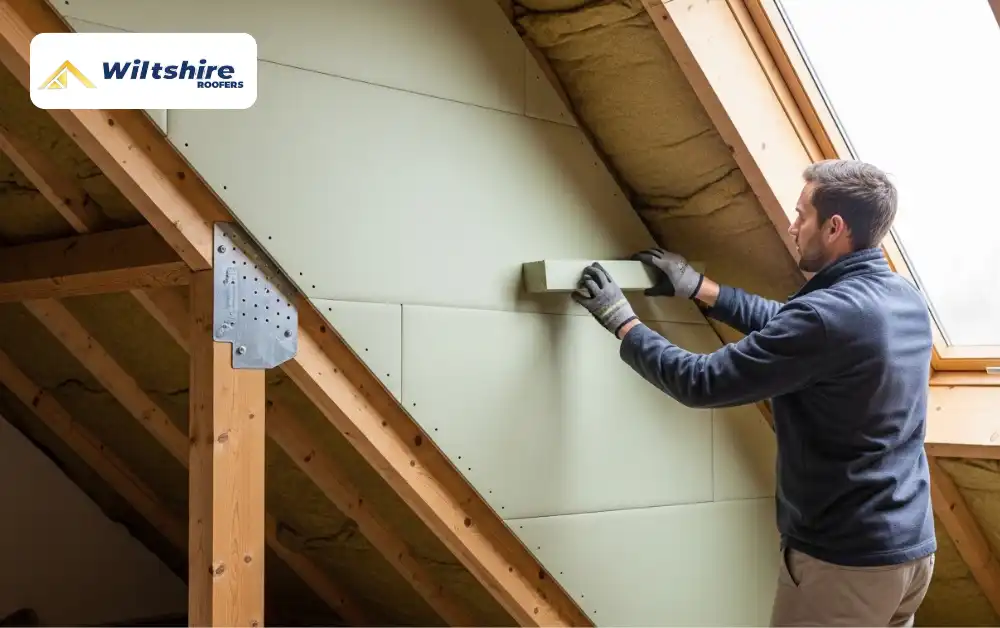
Step 5 — Add Insulation Under Rafters (Optional)
To improve the insulation of pitched roofs, you can fix rigid boards under the rafters. This reduces thermal bridging through the timber. It also helps meet pitched roof insulation building regulations if extra thickness is required.
Step 6 — Fix the Vapour Control Layer
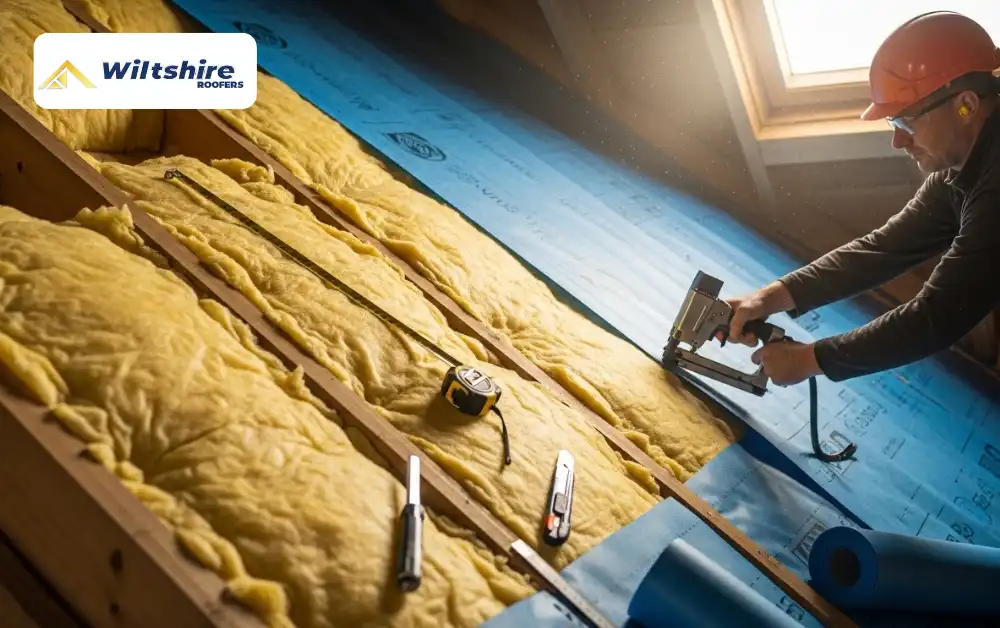
Staple a vapour control layer across the warm side of the insulation. Seal all joints properly. This stops warm air from inside the house from reaching cold surfaces and forming condensation.
Step 7 — Finish With Plasterboard
Fix plasterboard over the rafters to create a smooth ceiling finish. Once secured, you can plaster and decorate as needed. At this stage, the pitched roof insulation between rafters is complete and ready for use.
Benefits of Internal Roof Insulation
Internal pitched roof insulation helps stop heat escaping through the roof. An uninsulated roof can lose around 25 percent of a home’s heat. By insulating roof rafters properly, your home stays warmer for longer. You can lower your energy bills each year. A detached home could save hundreds of pounds by improving insulation on roof areas. Your heating system will not need to work as hard, which also reduces carbon emissions.
It also makes the home more comfortable. Rooms feel warmer in winter and more stable in temperature. Good insulation of pitched roofs can also reduce condensation, which lowers the risk of damp, mould, and timber rot. Another benefit is added property value. Homes with properly pitched roof insulation are more attractive to buyers and tenants. It shows the property is energy efficient and well-maintained.
Building Regulations
When you insulate a pitched roof from inside in the UK, you must follow Part L of the Building Regulations. These rules make sure your pitched roof insulation meets proper energy standards.
In England and Wales, a refurbished pitched roof should achieve a U value of around 0.16 W/m²K. In Scotland, the target is stricter at around 0.12 W/m²K. The lower the U value, the better the insulation of pitched roofs.
If these targets cannot be fully reached, the roof must still be improved as much as possible and not perform worse than 0.35 W/m²K.
The thickness of your pitched roof insulation between rafters must be enough to meet these values. Always check with local building control before starting work to make sure your project complies. Even if you understand how to insulate a pitched roof from inside, many homeowners still choose professional roofing services. Correctly fitted pitched roof insulation makes a big difference in warmth, energy savings, and long-term performance. Poor installation can lead to condensation, dampness, and costly roof repairs later on. A professional installer will make sure the insulation thickness, air gap, and vapour control layer are all fitted properly and meet UK building regulations. For safe and reliable results, it is always best to use experienced roofing specialists. They will ensure your insulation on roof areas is done correctly, efficiently, and built to last.
Conclusion
Insulating a pitched roof from inside is one of the most effective ways to improve home comfort, reduce energy bills, and protect your roof structure. By fitting insulation between rafters, adding a vapour control layer, and finishing with plasterboard, you create a warm, energy-efficient loft space.
Following UK building regulations ensures your pitched roof insulation is safe, efficient, and meets the required thermal standards. Proper planning, the right materials, and leaving a small air gap for ventilation all help prevent condensation and long-term damage.
Whether you do it yourself or hire a professional, a well-insulated roof will save money, improve comfort, and increase the value of your home. Taking the time to insulate roof rafters correctly is an investment that pays off year after year.
FAQ’s
Do you need an air gap between roof insulation?
Yes, a 50mm air gap is recommended between the insulation and the roof covering. This allows airflow, prevents condensation, and protects the timber from moisture. Without it, trapped damp can cause rot, mould, and reduce the effectiveness of pitched roof insulation.
How thick should pitched roof insulation be?
For most UK homes, around 270mm of insulation is recommended at ceiling level or between rafters. The exact thickness depends on rafter depth and material used. Adequate thickness ensures proper thermal efficiency, meets building regulations, and keeps your home warm and energy-efficient.
Is internal insulation better than external?
Internal insulation is easier and cheaper to install in existing lofts. It allows work from inside without removing roof tiles. External insulation is more suitable for full roof refurbishments or historic buildings. Both can be effective if installed correctly.
What type of insulation is best for pitched roofs?
Mineral wool, fibreglass, PIR boards, or cork boards are all suitable. Mineral wool and fibreglass are affordable and easy to fit. PIR boards offer high thermal efficiency, while cork is sustainable. The choice depends on budget, space, and insulation thickness available.