
Fascia boards and soffits form the finishing edge of a roofline. They seal the gap between the roof and the outer wall, support the guttering system, and allow ventilation into the roof space. When these components fail, moisture can enter the roof structure, insulation becomes damp, and timber rafters may begin to rot.
Many UK homeowners carry out replacing fascia and soffit work during roofline upgrades or when installing new guttering. The process is manageable with the right preparation and tools, but it requires careful measurement, safe ladder work, and proper ventilation planning. Trusted roofers in trowbridge can help you with these services as.
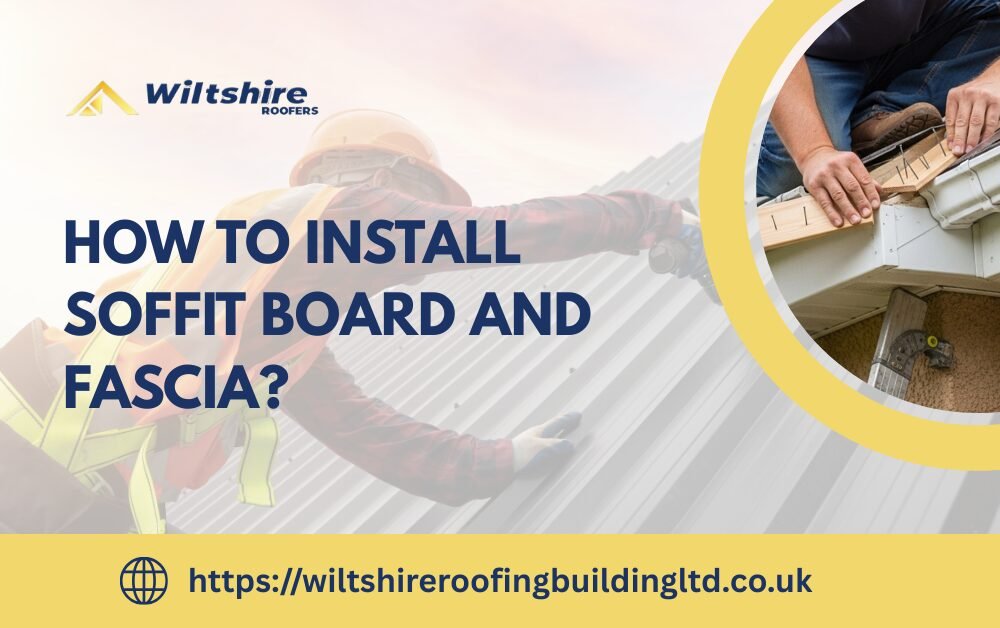
This guide explains how to put on soffit and fascia, why each step matters, and what to consider when working on a typical UK property.
Understanding Fascia Boards and Soffits
Before starting installation, it helps to understand the role of each component involved in fitting fascia and soffit.
Fascia Board
The fascia board runs horizontally along the edge of the roof, fixed to the ends of the roof rafters. This structural board forms the visible fascia on roof edges and performs several functions:
- Supports the guttering system
- Protects the roof edge from weather exposure
- Provides a clean, finished roofline appearance
Traditionally fascia boards were made from timber, but most modern UK projects use uPVC as part of upvc fascias and soffits installation, because it offers durability and low maintenance.
Soffit
The soffit is the panel fitted underneath the fascia board, closing the gap between the fascia and the wall.
Its main purposes are:
- Protecting the underside of the roof overhang
- Allowing airflow into the roof space through ventilation panels
- Preventing birds, insects, and debris from entering
Together, fascia and soffits create a protective barrier that keeps the roof structure dry and ventilated.
Tools and Materials Required
A typical soffit installation and fascia installation requires the following equipment.
Tools
- Tape measure
- Spirit level
- Circular saw or handsaw
- Drill or impact driver
- Ladder or scaffold tower
- Chalk line
- Hammer
Materials
- uPVC fascia boards
- uPVC soffit boards or vented soffit panels
- Starter trims and corner trims
- Stainless steel or galvanised screws
- Ventilation strips if required
- Timber support battens
Using corrosion-resistant fixings is important in the UK climate where rainfall and humidity are common.
How to install Soffit board and Fascia:
Step 1, Inspect and Prepare the Roof Edge
Before installing new boards, the existing roofline must be inspected.
This stage is especially important when replacing fascia and soffit, as hidden timber damage can affect the strength of the new installation.
Remove the old guttering, fascia, and soffit panels. Once removed, examine the rafter ends and the roof felt.
Look for:
- Rotting timber
- Damaged rafters
- Torn roof membrane
Any structural issues should be repaired before new materials are installed. Installing fascia boards over damaged rafters will eventually cause sagging or gutter failure.
If the roof felt does not extend far enough over the fascia, add a felt support tray to guide water into the gutter.
Step 2: Install Support Battens for the Soffit
Soffit boards need support along both edges during soffit installation.
Fix timber battens along the wall just beneath the roof overhang. These battens provide a secure fixing point for the inner edge of the soffit.
Use a spirit level to ensure the batten runs straight along the wall. An uneven batten will cause the soffit boards to appear misaligned.
Spacing screws approximately every 600 mm usually provides adequate support.
Step 3: Cut and Install the Soffit Boards
Measure the distance between the wall batten and the front edge of the rafters.
Cut the soffit boards to this width. In most UK homes this distance ranges between 300 mm and 400 mm, though it varies depending on roof design.
Slide the rear edge of the soffit board into the wall trim or J-channel, then secure the front edge to the rafter ends.
If using vented soffits, ensure the ventilation slots face downward and remain unobstructed.
Proper airflow through soffit vents helps prevent condensation in the loft space and is a key part of correct soffit installation.
Step 4: Install the Fascia Board
Once the soffits are fixed, the fascia board can be installed.
Position the fascia board against the ends of the rafters so that it covers the exposed edges of the soffit boards.
Secure the fascia board directly into the rafter ends using stainless steel screws. This stage is commonly referred to as fixing fascia boards.
Typical fixing spacing:
- Every rafter position
- Roughly 400 mm to 600 mm apart
Use a level to ensure the fascia runs straight across the roofline. Even small misalignments become noticeable once gutters are installed.
Step 5: Join Fascia Boards and Fit Corner Trims
Long rooflines require multiple fascia boards.
To connect them:
- Use fascia joint trims or H-connectors
- Leave a small expansion gap for uPVC movement in temperature changes
External and internal corners should be covered with corner trims to keep the installation weatherproof and visually tidy.
These trims also prevent water penetration at roofline junctions during fitting fascia and soffit.
Step 6: Install Ventilation Where Needed
Roof ventilation is essential in the UK climate to prevent condensation buildup inside loft spaces.
Ventilation can be achieved through:
- Pre-vented soffit boards
- Continuous ventilation strips
- Circular soffit vents
Building regulations generally recommend at least 10 mm continuous airflow for roof ventilation.
Proper airflow is one of the most important factors in successful upvc fascias and soffits installation.
Without adequate airflow, moisture can accumulate inside the roof, eventually causing mould or timber decay.
Step 7: Install Guttering onto the Fascia
The final step is attaching the gutter system to the fascia board.
Mark the correct fall angle along the fascia to allow rainwater to flow toward the downpipe.
A typical gutter slope is:
- Around 1:600 fall toward the outlet
Install gutter brackets along the fascia at consistent intervals, then clip the gutter sections into place.
Because the fascia board supports the gutter system, secure fixings into solid rafters are essential.
Common Installation Mistakes to Avoid
Many roofline problems occur due to small installation errors during fitting fascia and soffit.
Common issues include:
Blocking soffit ventilation
Paint, insulation, or debris covering vent slots prevents airflow.
Fixing fascia only to old boards
Over-cladding without securing to rafters weakens the gutter support.
Ignoring roof felt alignment
If the felt does not direct water into the gutter, moisture can run behind the fascia.
Using incorrect screws
Non-stainless fixings can rust and stain uPVC boards.
Avoiding these mistakes improves both durability and performance.
When Professional Installation May Be Necessary
While many experienced DIYers install fascia boards and soffits themselves, certain situations require professional roofline specialists.
Homeowners who are unsure about working at height often prefer hiring professional roofers in Trowbridge to ensure fascia and soffit installation is carried out safely and according to building standards.
Professional installers can also provide accurate estimates for the cost to install fascia board, which depends on factors such as roof height, access requirements, and the condition of the existing roofline.
Situations where professional work may be required include:
- Multi-storey homes requiring scaffolding
- Extensive rafter damage
- Roof replacements involving structural changes
- Complex roof shapes with multiple valleys and dormers
Working safely at height is often the most significant consideration.
Conclusion
Installing fascia boards and soffits protects the roof structure, supports the guttering system, and allows essential ventilation into the loft space. Whether performing a full upvc fascias and soffits installation or replacing fascia and soffit, careful preparation, correct fixing methods, and proper ventilation ensure the roofline remains durable and weather resistant.
For a safe and professional finish, trust experienced roofers in Trowbridge, get expert help today with our fascia and soffit installation service.
FAQs
How long do fascia boards and soffits last in the UK?
uPVC fascia boards and soffits typically last between 20 and 30 years. Their lifespan depends on installation quality, weather exposure, and how well the guttering system is maintained over time.
Is replacing fascia and soffit a difficult DIY job?
Replacing fascia and soffit can be manageable for experienced DIYers who have the correct tools and safe ladder access. However, properties with multiple storeys, steep roofs, or damaged rafters may require professional installation.
Does soffit installation improve roof ventilation?
Yes, proper soffit installation improves ventilation by allowing fresh air to enter the roof space. This airflow helps prevent condensation, mould growth, and moisture damage inside loft areas.
What factors affect the cost to install fascia board?
Several factors influence the cost to install a fascia board, including:
- Property height
- Roof accessibility
- Type of material used
- Labour costs
- Whether existing fascia boards need to be removed or repaired
What materials are used in modern fascia on roof installations?
Most modern fascia on roof installations use uPVC boards. They are widely preferred in the UK because they resist rot, require minimal maintenance, and provide long-term weather protection compared with traditional timber boards.
Can fascia boards be installed without removing the old ones?
Yes, in some cases installers place new uPVC boards over existing timber fascia boards. This method is called capping. However, it is only recommended when the original timber fascia is still structurally sound.